In the fast-paced world of public relations, staying ahead of the curve is crucial. For HypeHouse, a leading agency in the field, understanding YouTube trends in the United States has become an essential component of their strategic decision-making process. That’s where our team comes in.
The blog is splitted into multiple sections. Jump forward to any specific section by clicking on the link.
- Client requests
- Best Practice to Keep Organized
- Folders’ division
- Databases
- Warehouses
- Roles
- Users
- Data Ingestion
- Defining an useful file format
- Ingestion from device
- Ingestion from S3 bucket
- Automate ingestion process by procedure
- Data Transformation
- dbt labs
- GitHub
- Documentation’s most meaningful aspects
- Data Presentation
- Views for Analytics
- Data Sharing
- Listing: a useful Snowflake’s feature
- Access Policies
- Row-access policy & Masking policy
- Data security and governance in Snowflake
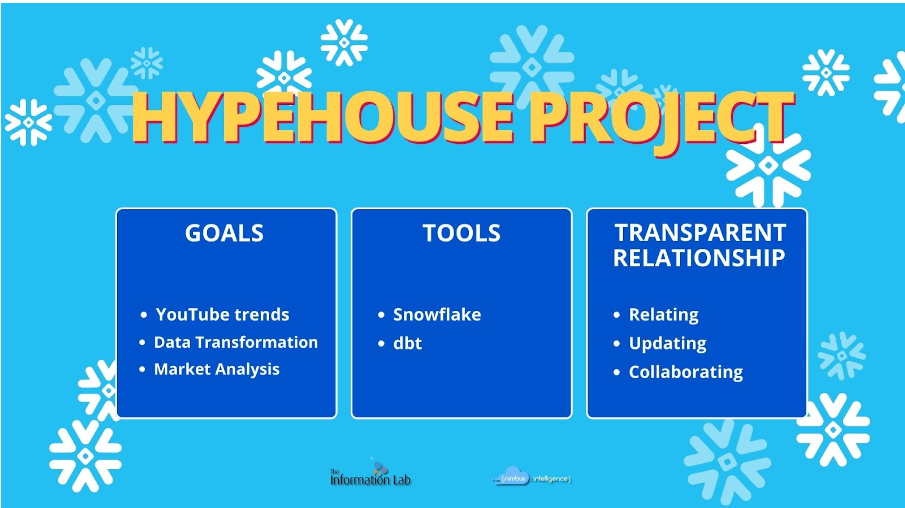
We are excited to share our recent collaboration with this prominent public relations agency and the remarkable journey we embarked on to help them harness the power of data analytics, transforming their approach to market analysis.
Our first task was to interact with HypeHouse’s knowledge partner, retrieving daily YouTube data to fuel their market analysis. This step was crucial in ensuring the availability of up-to-date information, empowering HypeHouse to make data-driven decisions. We seamlessly integrated with their partner, establishing an efficient data retrieval process that became the lifeblood of our insights-driven journey.
Client requests
HypeHouse had very clear ideas about what it wanted from data! Here its requests:
- Create a quick way of getting the videos’ category titles into Snowflake
- Set the timezone from US to our (NL/IT) timezone
- How long has a video been trending for?
- Which are the videos trending on multiple days?
- Service Account Tableau
- User Auto creation Token
To handle the ever-increasing volume of data, we turned to Snowflake, a cutting-edge cloud data platform. With Snowflake, we securely stored and organized HypeHouse’s YouTube data, ensuring data integrity and accessibility. This robust foundation laid the groundwork for further transformations.
Leveraging the power of dbt, our team skillfully transformed the retrieved YouTube data. By structuring and standardizing the information, we generated coherent tables and views, providing HypeHouse with a comprehensive view of the market landscape. This transformation was the key to unlocking actionable insights that would shape their strategic decision-making.
Throughout this project, our team of young consultants recognized the importance of not only delivering exceptional work but also developing strong client relationships. We seized this opportunity to learn how to effectively relate with clients, understanding the different roles within their organization and identifying the right points of contact for specific requests.
We navigated the delicate balance of taking initiative and seeking client opinions. Through regular communication, be it via email or meetings, we ensured that we aligned our work with HypeHouse’s vision and goals. Transparent and open communication became the cornerstone of our relationship, as we provided them with weekly kick-offs to keep them updated on the project’s development.
Best Practice to Keep Organized
In Snowflake a rational and orderly manner of the worksheets’ organization will significantly increase the readability of the project structure. Moreover, a significant improvement will benefit the navigation through the project too.
For this reason we have divided them into thematic folders:
- Environment Folder
- Ingestion Folder
- Access Policies Folder
- Analyst View Folder
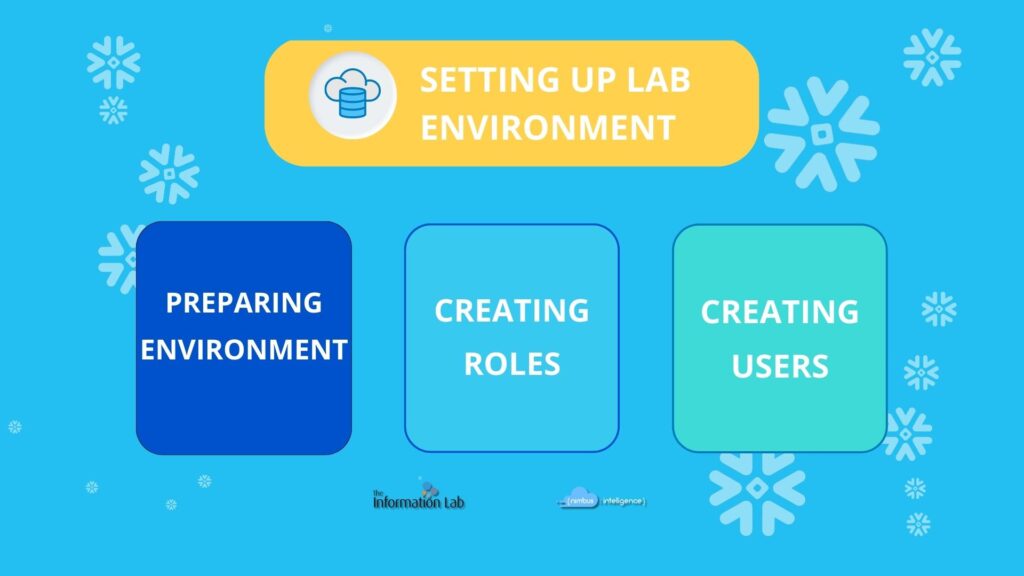
Environment Folder
In the environment folder we have created the following worksheets for each of the following object:
- Warehouses
- Resource Monitors
- Roles
- Users
Warehouses
- Transforming_WH: warehouse dedicated to data transformation
- Analytics_WH: warehouse dedicated to data analysis
As company Nimbus Intelligence has some fixed field parameters for setting warehouses: for example AUTOSUSPEND = 60 SECONDS, SIZE = X-SMALL.
Resource monitors
We opted for two resource monitors. The former is connected to the Analytics_WH. As a matter of fact such warehouse can be used by both clients and developers. Since that, it could be subjected to significant computational loads. The latter one is created at the account level. In this way, we can control cumilative credit quota.
Databases
We created the following databases and the required schemas for each of them:
- db_raw_hh: Database to store the raw data from the Knowledge Partner.
- db_development_hh: Destination database for development and testing phases only executed by developers.
- db_acceptance_hh: Destination database where tests are executed by developers and customer technical users.
- db_analytics_hh: Database to deliver data as finished product for analysts.
Roles
After having setting up the main objects, we focused on the roles:
- rl_database_admin: its privileges are inherited from SYSADMIN and SECURITYADMIN. It can manage the creation of the other required roles.
- rl_transformer: from db_raw_hh, it can query raw data. From/In the other ones, it can query, create and edit all the objects.
- rl_business_analyst: in db_analytics_hh, it can run SELECT statement on tables and views.
- rl_acceptance_tester: in db_acceptance_hh, it can run SELECT statement and notify Nimbus developers per any errors.
- Last but not least, the role of AAD_Provisioner. The customer required the ability to create a token that could be used for Snowflake access to many people in their company without the need of new users but only using SSO.
To have optimal management, all roles were granted to the ACCOUNTADMIN.
Users
Due to the needs of HypeHouse, roles above were created in order to be assigned to the following users:
- usr_hypehouse_enineer: role rl_transformer
- usr_tableau_analyst: role rl_business_analyst
- usr_hypehouse_tester: role rl_acceptance_tester
- usr_aad_provisioner: role rl_aad_provisioner
Data Ingestion
Ingestion from device
As first, we agreed with the client on the form and manner in which the data were to be provided to us. However once data was arrived we noticed some duplicated records and some data notations not particularly convenient for later manipulations. Having agreed with the client and the data provider on the technical adjustments, we then proceed to make them in order to reach the most functional form.
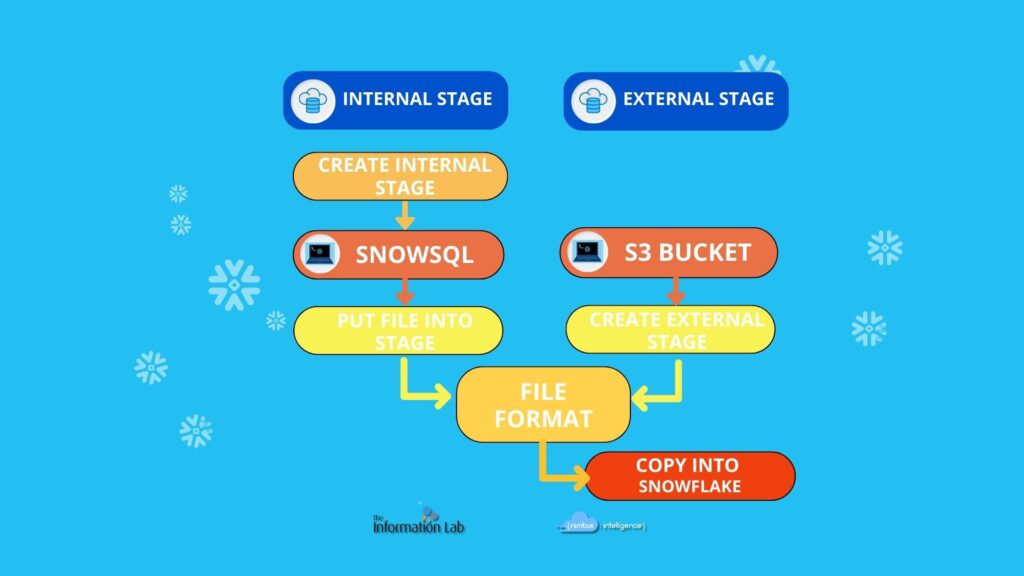
The first bulk of data was provided by files on the local disk to us. Hence, we created a file format in which we specified the features of the data type.
The three files, provided on a daily basis, were the following:
– video_info: collection of descriptive information about each video,
– view_count: the amount of views per video,
– comment_count: the amount of comments per video.
We proceed by creating tables to collect data from each file. It is a good practice to create an additional columns in order to easily manipulate the data by keeping track of the progressive increase in records and the dates to which the files referred.
We used SnowSQL to copy the data. Actually, the CLI provided by Snowflake allows us to use PUT command to ingest the data from the local disk and insert them in the tabular stages. From the stage, we then proceed with the copy operation to fill the tables.
Ingestion from S3 bucket
For sure, transfering data via physical device is not a good strategy to cowork on the same project. For this reason, the client itself decided to store its daily-basis data in an AWS Bucket. To keep data from there, it shared with us the URL of the bucket and the credentials needed for access. At this point, we used such parameters to create an external stage pointing to the bucket.
In the bucket, new data was stored, i.e. likes_count table, a collection of the total amount of likes and dislikes for each video. As for the previous tables, we proceed by creating another table with the same more additional columns.
However, we were wondering whether to automate such procedure. Of course! someone said. As a matter of fact, Snowflake provides the tools to do it: stored procedures and tasks.
At the end of the day, the stored procedure does nothing than the copy operations we implemented before. That is, the copy into operations from stages using the features specified in the file format. By using such procedure as the body of a task scheduled at 11 p.m. (a time we were sure the client had provided us with data), we automate the whole copying process.
Data Transformation
Why dbt?
We use dbt to transform previously ingested data. In particular, we use dbt cloud, that is a hosted SQL-first transformation workflow service that allows us, as analytics engineering, to deploy our development environment, to test and document it. dbt cloud can be also linked to GitHub. In this way, we can enable git version to collaborate with other developers but also to keep track of and return to previous working states.
dbt transforms data where they live
We have decided to store data into a cloud warehouse, i.e. Snowflake. By means of dbt, we can easily have access to them. As a matter of fact, dbt creates a connection to such data platform and runs SQL code against the warehouse to transform data. The best practice to work with these two tools consists of creating (at least) four different databases, as we seen before. Their existence is determined by the different types of function/use that the data they respectively contain has.
In our Snowflake worksheet, we have created the role rl_transformer. Now, we assign it to dbt. In this way, we can transform data where they live. Input data will be that ones in db_raw_hh, while output, transformed and tested data that ones into db_development_hh, db_acceptance_hh, db_analytics_hh.
Develop: the funny environment.
In the development enviroment, we can create models, i.e. sql files that live in the models folder. Here, we can write our code based on the needs of product to deliver. By means of dbt run, we materialize the models into Snowflake. The default materialization is a view, since it is what the client wanted, we left it as such.
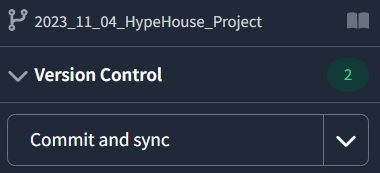
GitHub for Version Control
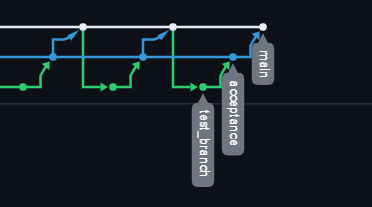
After having installed GitHub in our dbt Cloud, we can then create the repository for our project. It is a good practice to create separate branches to develop and to make changes, in other words, we should have a branch for each environment we are going to use: developement branch (here test_branch), acceptance branch and main branch.
 In this way, more than one developer can work on the same project and, whenever any change is needed in any step of your work, they can add some changes. However, such changes will be not merged to our main branch unless they have not been tested and accepted. However, this was a solo-project, hence we use the version control of Git just to keep track of and return to previous working states. (Are you interested in knowing more about GitHub and dbt? Click here!). Once approved changes are merged with the main branch, i.e. the base branch of our repository, they will in turn be pushed into production. Note that all the other branches (development and acceptance) will be not used into production.
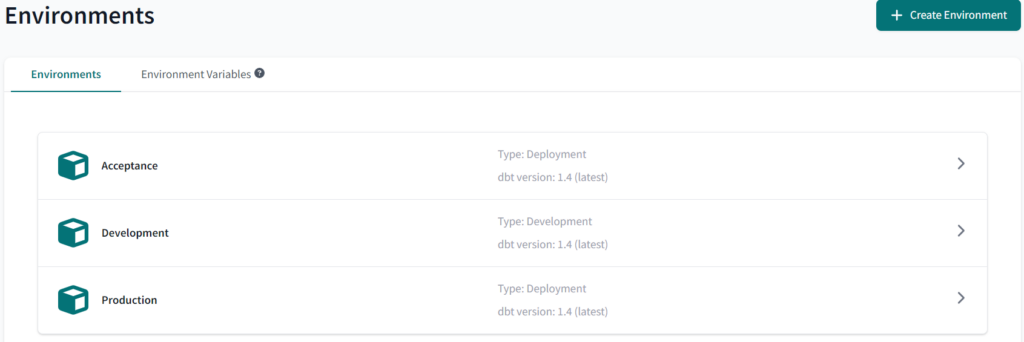
At this point, it is reasonable to have three different databases in our Snowflake instance. Indeed, in the deploy section, we need to set the Environments for our Jobs. The development environment materialized models into db_development_hh, the acceptance environment into db_acceptance_hh, while the production environemnt refers to db_analytics_hh.
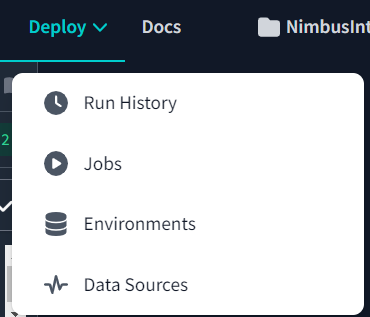
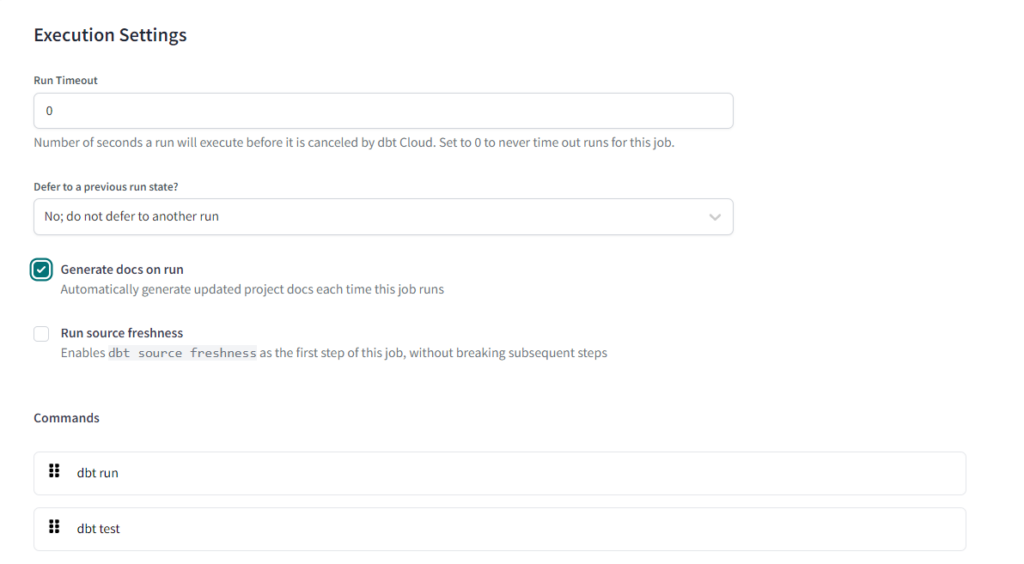
At this point, it is possible to schedule jobs. The first necessary step is to select the deployment environment we want, that is production. Each job can run more than one dbt commands. It is a good practice to run the command: dbt run and dbt test. These two command allow to materialize model into the selected schema and to improve the integrity of your own models by testing some assertions made into models.
Since we want to automate our Production job, we add a trigger to it. In particular, it is useful because we can run such trigger on schedule days and at a certain time. Generally, the time set for the trigger should be later than that one set for the task to copy operation in Snowflake.

Documentation: a necessary step to let others understand your work.
«Proper documentation is a critical aspect of any software development project» but some developers tend to forget it. However, dbt allows lazy developers to produce an efficient and clear documentation just by a click.
As a matter of fact, in the Jobs’ Execution Setting, we have to click on «Generate docs on run». In this way we easily obtain not only a model, source and column description, but also a lineage graph between models and the underlying SQL code for each model. Be careful, dbt does not create the documentation from nothing, we have to add in the model directory the respective YML files in which we tells dbt how to operate on our project. Documentation grounds on said YML files.
The data lineage graph (DLG) is one of the most interesting thing to detect between dbt documentation. It provides us an overview of how data are distributed into our organization, in particular where they are transformed and consumed. The DLG grounds on the visual graph (DAG) of sequential workflows at the data set or column level and on the data catalog of data asset origins, owners, definitions and policies. Between these two building blocks, DAG seems to be the more interesting. As a matter of fact, since we use dbt which automatically infers relationships beween data sources and models (modularity), DAG is shaped in an automatic way by showing the lineage that exists between our data transformations.

Data Presentation
How we already set on dbt; now we have on Snowflake different databases and schemas for different roles. For example, we created a Tableau Analyst role where they have access to Production Database. Users who have that role could make direct connection from Snowflake to Tableau and they can create their dashboards using views that we created for them.
Another role for example business analyst could see again the Production Database but they can not have access to the schema that we granted privilege only for Tablea Analyst role. This way of processing gains us the ease to handle any role changes that could client us for; we could easily set up new schemas, maybe even in a schema setting up different tables for different roles etc.
Data Sharing

After some point the client came to us with a new request, which was the idea of a new employees table. The client told us this time they have their new dataset in their Snowflake instance, which their region was in an AWS region.
The request was to take the dataset in our Snowflake instance and afterwards apply some Masking and Row Level Access Policies to that dataset. At this point we think that we could apply some different ways to ingest the data in our Snowflake instance.
Since we had our Snowflake instance in another region we could not make a simple direct share. To be able to do this operation we need two Snowflake accounts in the same region. For this type of problem there are two different solutions:
- First one is that the client should create a new account in the same organization but with our region and then they had to clone the dataset first there and after that we could do a direct sharing.
- The second one is to create a listing.
We decided to proceed with listings since listings are doing the exact same thing as we mentioned before at the first step. The major advantage of listings is that they are automatically creating those steps for us. We just sent the instructions to the client for create a listing and afterwards we could simply take the dataset as it was a direct share with us.
Access Policies
Since we have their first requirement done, we could pass to the next one that was creating some policies that will make data secure in a way. The client told us that they have one HR role and three Team Manager Roles. They want that:
- HR role could see the dataset as it without changing anything,
- Team Managers could see only their teams and without their Social Security Number column visible.
This means that first we should create requested roles and then we should apply two different policy types to the table. Row-level Access Policy for the team managers only can see their team and hr could see all of them. Masking Policy to be able to hide the SSN column from all Team Managers roles.
We should pay attention here that we can not apply any policies to the simple shared data because all shares in Snowflake are read-only. So here we used dbt again to create a new dataset from the dataset that we took from share. We should use dbt here too because shared data can not be copied.
Once we have all our new dataset and policies ready on Snowflake, we switch to dbt to apply policies to the new dataset that we created. We are doing this part on dbt because every time there will be a new dbt job run, the whole table will be recreated. It means that if we apply policies directly on Snowflake they would not be valid for the new one after the dbt job run(which we are doing daily).
Here we could use another technique that was to create this employees table from dbt as incremental. That means that dbt will check our table before creating it, if there wasn’t any new data, it will simply not change anything and not create a new table. But this process has some extra computational costs and will not be convenient for us at this point. We gained the requested privileges to requested roles here in dbt again like we did for policies.
Conclusion
In this blog, we have presented to you the first project of the Nimbus Intelligence team. We wanted to explain (not in a too technical way) how we enjoy delivering the client’s requests. By means of Snowflake, dbt and GitHub, we were able to lead business significant strategies to handle with data, in order to make the best data-driven strategic decisions. We hope that can match we our motto: «Helping people make sense of data!»
Are you curious to know more? Feel free to get in touch with both the Italian and Netherlands sides of Nimbus Intelligence!