»With this release, we are pleased to announce the preview of creating and editing named stages using Snowsight without writing SQL.
To create or edit named stages, you can enter details into Snowsight including information about authentication or encryption for the stage.»
In May Snowflake released a new feature of using Snowsight Snowflake’s interface for uploading files into your Snowflake account. Uploading files into your database before this release was like squeezing water from a stone.
You can check a very detailed and well explained series of how to upload and download data from Snowflake database here.
Creating a stage
Let’s imagine that we want to upload data from an on-premise system to our Snowflake account. We will upload two different file types, one CSV and one JSON, using Snowsight.
However, we can upload files with a size up to 50MB, otherwise we have to use SnowSQL. How to do that is explained in this article.
In Snowsight click on the left side pane on Data -> Databases, choose one that you have previously created. Choose the Schema you want to upload your data and click on the top right corner the blue button that says Create.

From the drop down menu choose stage.
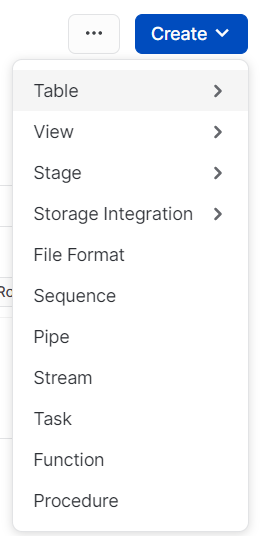
In this article we are exploring Snowflake managed stages, click on this.
Fill in the name you want your stage to have. A new setup will be open, your newly created stage. On the top right corner click on the blue button to upload your files.
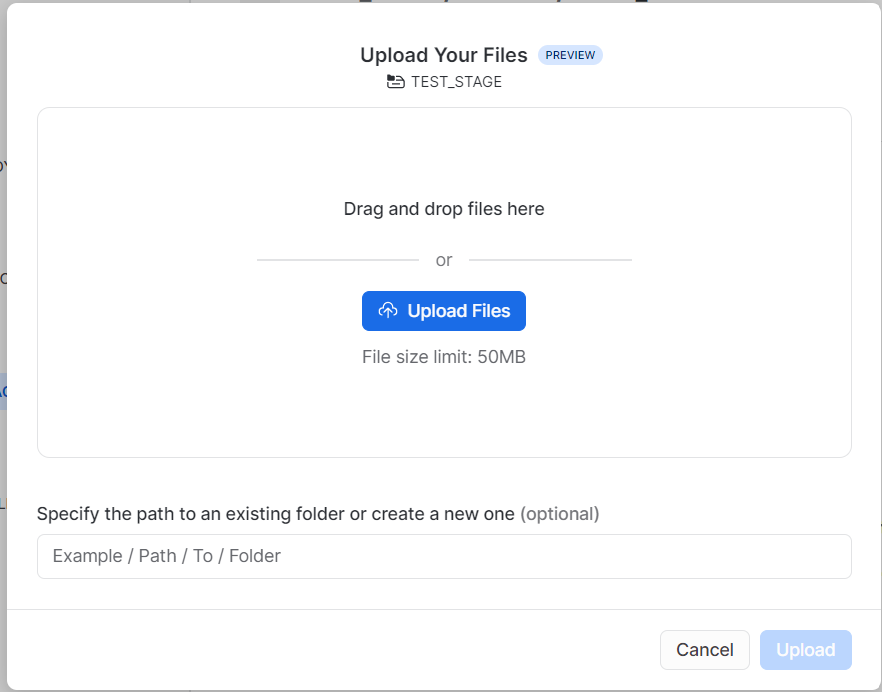
Choose the file(s) you want to upload by either drag and drop or by clicking on the blue icon. As soon as you have chosen the right files Snowflake will take care of the rest, and will automatically read the file type.
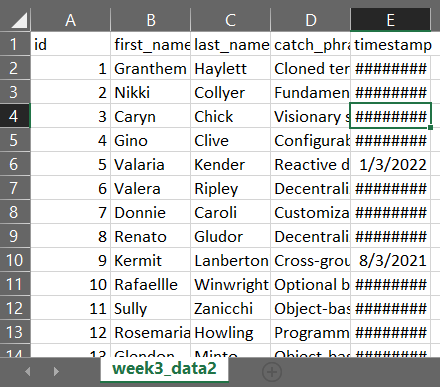
Now we just need to tell Snowflake where to save our data. Our CSV looks like:
Let’s create now our table in our Schema:
CREATE OR REPLACE TABLE test_table(
      id INT
    , first_name VARCHAR
    , last_name VARCHAR
    , catch_phrase VARCHAR
    , timestamp date
);
Now we have to simply COPY the CSV’s data INTO our newly created test_table FROM our STAGE:
COPY INTO test_table
    FROM @test_stage
    ON_ERROR = 'continue';
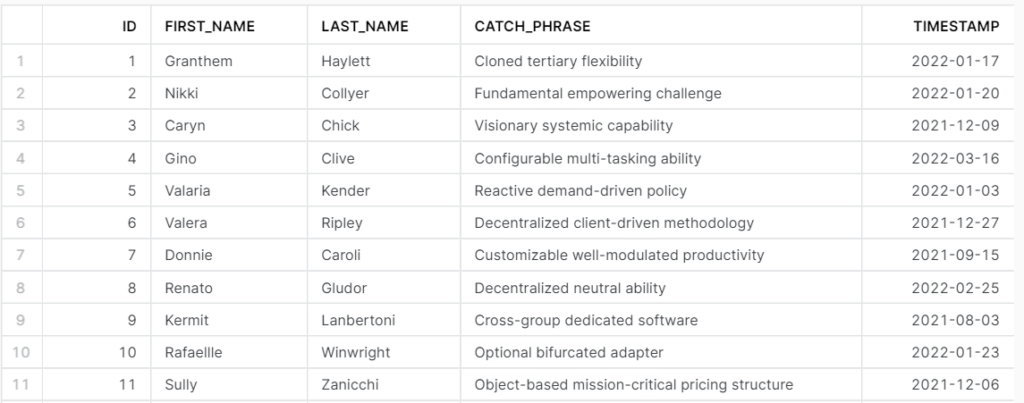
Our table in our database looks like this:
And we are basically done.
Conclusion
This release basically makes our life way easier. Snowflake takes care of everything, security, file formats, creating internal stages, and putting files into stages. We only have to do some clicks and copy the data into our tables. Thank you Snowflake.
Don’t forget to check out the rest of our Blogs! If you have a question we most probably have the answer!
Useful links:
- https://docs.snowflake.com/en/release-notes/2023-05
- https://docs.snowflake.com/en/user-guide/data-load-local-file-system-stage-ui